Tuesday, 12 June 2012

Game Night Ravenous Hordes Baking #2

Tonight's dilemma is brought to you by sick kid.  Rosie is under the weather, nothing seems to be causing it, she is just low energy, has a fever and is whiny.  So someone (Rosie) has spent the day watching Treehouse kids tv.  This is okay but I missed Little Misses' school party and a tea at her school, but hubby did make both those events. 

Also game night was cancelled due to a friends birthday that all the gamers are attending. So I figured I would be off the hook from baking something but there was a lot of left over fruit from the party so we are having a pre-party get together and now I am back on making something for the ravenous hordes.  On a current trip to Costco we picked up some cinnamon raisin bread with the plan to make bread and butter pudding which is a favorite for our family.  So I had to throw together a quick bread and butter pudding so I used my sister-in-laws recipe as a base and changed a few things, mostly out of necessity since we didn't have 4 cups of milk in the house, but surprisingly we had some table cream which will hopefully make it tasty.  The other ingredient that we didn't have enough of was sugar.  It is really hard to bake without sugar, especially when the recipe calls for it.  I did have some finer berry sugar so I cut it down a bit and hopefully that will work. 

This recipe is from my sister-in-law and it is totally amazing.
Miti's Whiskey Pudding with Whiskey Sauce
Bread Pudding
1 Loaf Cinnamon Raisin Bread (or you can use what ever bread you want, add 1 cup raisins)
3 tbsp Butter
3 Eggs
3 cups Milk
1 cup Cream
2 tbsp Vanilla
2 cups Sugar
1 tsp Cinnamon


-Butter a large and relatively deep oven pan with the butter. Arrange the bread, or as much as will fit. If using raisins with regular bread, hide the raisins among the bread.

 
I've arranged the bread, it isn't pretty but so what.

-In a large bowl mix the other ingredients. Pour over the bread. Press down so that all the bread gets moistened.
 
The custardy liquid is whisked together and ready to pour over the bread.

The bread has been mushed into the custardy liquid, I didn't leave it to sit long enough but that just means that doesn't soak up all the juice, still it is delicious.

-Let stand for an hour (for today's pudding, I didn't have enough time to let it stand.) Bake for another 45-60 minutes at 375F or 200C
Out of the oven and ready for the sauce.

-While still hot cover with Southern Whiskey Sauce.
We were too desperate to eat it so pictures had to wait until some of the pudding had been consumed.

Southern Whiskey Sauce
8 tbsp Butter
1 cup Sugar
1/4 cup Bourbon
2 tbsp Water
1/4 tsp Nutmeg
1/8 tsp Salt
1 large Egg, beaten until Frothy

-In a saucepan combine all ingredients EXCEPT the egg (you can also leave out the bourbon until just before adding the egg so less of the alcohol burns off.)  Cook stirring until the sugar has dissolved.  Add the egg while whisking vigorously.  Bring to a simmer and cook until thickened, about 1 minutes.


Monday, 4 June 2012

Game Night Ravenous Hordes Baking #1

Everyone Monday evening our house is over run by ravenous gamers.  As part of standard fair for Mondays we used to do just pizza but have branched out a bit.  The nice thing about gamers is that they will devour almost anything placed in front of them.  There are some up sides and some down sides to this.  This means I can make something that I should eat the whole tray, but almost anything is my house seems to be fair game.  I have used this to my advantage on many occasions, such as a pan or two of lemon bars that got devoured withing minutes.  


Tonights delicious treat is one that I tried a few years ago at our New Year's Whistler trip, Michael made brickle.  I had attempted it a couple of years ago and it didn't turn out well, which is a surprise since it seems rather simple to make.  


I tried a different method of making it and this batch turned out really well.


Brickle 


48-60 Saltines Crackers (such as premium plus)
1 cup Butter
1 cup Sugar
1 tsp Vanilla Extract
1 bag of Chocolate Chips (I like dark chocolate)


-Preheat oven to 350 degree


-Line cookie sheet with heavy aluminum foil.


-Lay the crackers out, try to get them to fit fairly snuggly.  Break crackers to fit, so that they crackers go edge to edge.


-In a saucepan, melt butter and sugar.  Stir often.  Bring it to the a boil, remove from heat and add the vanilla extract.


Butter and sugar melting but yet to come to a boil.


It has come to the boil and the vanilla is added, the vanilla will  cause it to bubble up a bit.


-Pour butter sugar mixture over the crackers and place in the oven for 7-8 minutes.


Butter mixture is poured over and spread out over all the crackers.
-Remove from the oven and scatter the chocolate chips all over the top and place back at the oven for another 2 minutes.  Remove from the oven and using a rubber spatula spread the melted chocolate all over the top.
The butter mixture has been cooked for 7-8 minutes.


The chocolate chips have been spread out and heated in the oven for 2 minutes and then spread out.


-Allow to cool 20-30 minutes and then you can refrigerate it or allow it to solidify and then brake into pieces.
All ready to cool.


 Tasty and very more-ish. 

Ham Time

There are times when nostalgia come back and leads to great things.  When I was kid and visiting my grandparents in Cardiff, Wales.  My grandmother would cook a roast for Sunday dinner and occasionally she would make a gammon ham.  I don't remember anything about the Sunday dinner ham but I have fond memories of the leftover ham in sandwiches made with white bread, butter and mustard.  Oh sweet decadence.  It has taken years for my mother, my husband and I to come up with something that approximates this lovely ham.  Gammon ham is quite expensive here and quite difficult to get, I have to order well in advance at my local butchers but there is now a Scottish butchers that keeps it on hand.  


I had asked my dear husband to make gammon ham (also known as green ham) for a Sunday dinner, so he ordered a 6-7 lb gammon ham to be picked up on Saturday.  At 4:05pm, dear husband announced that he had neglected to pick up the ham before the 4pm closing time and besides the fact that the butchers isn't open on Sunday, it needs to soak overnight to remove a bunch of the salt, so unless he found another ham we would be ham-less for Sunday dinner.  This would have been okay, but I had been thinking about this ham all week and really wanted some leftover ham for sandwiches.  Luckily there is a butchers about 45 minutes away that usually carry gammon ham, there was one draw back.....

... it is 20 lbs of ham.

They only had bone it (which is fine) and they only had a 20 lb gammon ham.  The nice thing about a huge bone-in ham is that it was surprisingly inexpensive.  $1.99/lb, so our 20 lb ham only cost us $40 which is less then I bet the 6-7 lb boneless ham will cost us (since we ordered it and we still have to pick it up.)

This ham was huge, and luckily we had a bunch of people coming over to help us eat 20lbs of ham. Plus, my mum will happily take some leftovers.

Gammon ham is a 2 day process, that is because a gammon ham is a raw salt cured ham  and it needs to sit overnight in cool water to remove some of the salt.  So that is an 8 hours plus step.  To help the salt removal go a little faster you can do a bunch of water changes, which is only really necessary when you are soaking a large ham.  The next step is to simmer the ham to cook the ham, then you remove it from the poaching liquid (which in our case was water and apple juice, but it has also been done in Dr. Pepper or Coke which impart a sweeter flavour.) The last and final step before devouring is to remove the skin leaving a thin layer of fat then roasting the ham for 20 minutes to crisp up the fat and cook any of the flavours you apply to the fat.

Gammon Ham 

-You'll need a gammon ham, which you will have to get from a butcher since groceries stores (at least in my part of Canada) do not carry them.

-In a large enough pot to fit the ham, place the ham and fill with water and let sit for 8-24 hours, larger joints of ham will require a few changes of water and 24 hours of soaking.
-The ham will require simmering for 20 minutes per lb, so our 20 lb ham should have taken 6 2/3 hours, but ended up taking 5 1/2 hours for the internal temperature to reach 160 degrees. We used a mixture of 1/2 apple juice and 1/2 water.

-Once the ham has reached 160 degrees, you remove it from the pot and place in a roasting pan and remove the skin leaving a thin layer of fat, you can cut the fat into a diamond pattern and pierce the flesh with cloves, but I find that a bit to clovey.  So did a rub of brown sugar, dry mustard powder and mace.  

-Roast it for 20 minutes in a oven pre-heated to 450.


-Slice and Serve.  Delicious.


Side Project

So, I have been working on a little side project that is sucking all my time recently...


It not the greatest picture but someone decided not to play along with the ultrasound tech.  So besides being uber tired and going through a bout of morning sickness, I also have had a stuffy nose since December (which is before I got pregnant, but it hasn't gone away.)  Things have settled down a bit here, so I have resumed (hopefully) blogging our food journeys, I have a bunch I have to post but I thought I would start here.  

Monday, 14 May 2012

The mysteries of Yorkshire Pudding

I grew up making my own Yorkshire pudds but in my old age and busy family I find that I have been making them from a packet on a fairly consistent basis.  But I have been having some problems getting them un-stuck from the muffin tin, I mean I have to chisel them out.  Even though I mix the mix thoroughly and preheat the muffin tin and the oil they still stick and I mean almost all of them stick, which is always a drag.  


Now, one of the things I miss from our trip to the UK a couple years back is that fact that you can get frozen packages of pre-made Yorkies at every grocery store.  This was great for me since we had an apartment and thusly a kitchen to heat these lovely ready made goodies.  I made it my nightly dessert with a bit of Bisto gravy.  Weird, but delicious.  My husband had a thing for custard, so we each had our "thing" while we were there. 


Here are a few hints I have picked up that I want to try: 

-Mixing it in a blender to incorporate more air.
-Heating the pan for 15 minutes.
-Make sure the oil is super hot (almost at the smoke point)
-Apparently old pans are better, although my pan is old I think that it might be part of the problem.
-Letting the batter sit for an hour+, some say up to 24 hours. (This is a trick I used to use, way back when I made Yorkies from scratch, I would let it sit about an hour an get lovely yorkies.


So, when the weather cools down some since we have been at 26 deg + for the last 4 day :) I think I will be making a few batches of Yorkies.


I think the first recipe that I will try will be the equal portions theory (which is strange idea) 
1 egg
1 cup milk
1 cup flour


I am not sure if that will work out as well as it sounds since I think it will be much thicker then I want my batter, but I guess I will see.  


Sorry no pictures today, but since I haven't made anything yet it sort of worked out this way

Friday, 2 March 2012

Crawling out of the Dark

Wow, it has been a while.  My fault, I was away in New Zealand for a week for my cousin's wedding and I have tons of pictures. But, I have been back for going on 3 weeks and have I posted my adventures, well no, I haven't.


This is just a short post to let you all know what we have been doing.  Hubby and I took our second cooking class this week.  We made cheese :)  Totally excited to make some at home.  My mother-in-law is picking up some rennet in Vancouver since there isn't really a place to get it in Vic.  Mozzarella, here I come.  The other cooking class that we did at the end of January was a level 1 Thai.  I did learn from experimenting with Galangal that fresh or frozen are much superior to dried which isn't as flavourful as I had hoped.  Apparently I have learned the my spell checker isn't familiar with Galangal as I am.  


Ok spell checker here is a run down.  Galangal is a rhizome and a member of the same family as ginger.  While it might look like ginger, it kind of smells like a pine tree.  Weird, but true.  


Other adventures in cooking came up from the dinner that I made for Rosie's family birthday.  Roasted Beets with orange segments, red onions picked in apple cider vinegar and goat cheese, delicious.  So delicious, that I am think of making that for dinner tonight, that or roasted butternut squash lasagna.  Choices, choices.  Oh, or I could have grits with shrimp.  Oh the choices we have to make in life.


I'll let you see what I do end up making for dinner, I think it might be tasty what ever it is :)


Ciao 

Sunday, 22 January 2012

What to do with Left-over Beans.

I made black bean brownie pancakes this morning and now I have nearly 2 cups of left over black beans, so I decided to make black bean soup for tonight's dinner.  

My husband and I started Weight Watchers again and he has been hungry since Friday, I think it might be more psychological more then anything but I am now trying to make the food we eat together more filling without really packing on the points.  Like today's fun fact that he didn't know, is that all fruit except avocados are 0 points.  So he ate a banana while making himself a sauteed mushroom and spinach salad.  Apparently reading the introduction booklet falls into the manly attribute of not ready manuals.

So for dinner tonight I am making black bean and corn soup with some pita chips on the side.

Black Bean and Corn Stoup


1 cup diced Onion
1 cup diced Carrot
1 cups diced Celery
1 1/4 cup Black Beans, drained and rinced
1/2 cup Canned Corn
1 cup Jarred Salsa
1/2 cup Diced Red pepper
2 cups chicken broth (I used concentrated stock which added 1 pt)
1 cup Roasted Butternut Squash
Pinches of Cumin, Coriander, Chili Powder, and Cayenne (to taste, my husband likes it spicy so I make it a bit spicier and then top with Chipotle Tabasco)
spray oil


1 spray heavy pan with spray oil and heat over medium.  Saute onions until translucent an then add the carrots and celery.  If the pan is getting too dry add some stock or water.  


2 Once the veg is starting to soften, add stock, beans, corn.  Simmer for 10 minutes.


3 Add the red pepper and salsa and simmer an additional 10 minutes.


4 Add the butternut squash and allow it to warm up then serve.
Here is the soup simmering away.


Stats:
1/2 of all the soup = 7pts
3 tbsp light sour cream, regular, as topping = 1
cilantro = 0
red pepper = 0
1/2 of whole grain pita = 2 
Chipotle Tabasco = 0


Meal total = 10 pts.

Yogurt Making Tutorial

I thought that I put together a tutorial on how to make yogurt.  I have been making yogurt for a bit and I have been getting some questions so I though that I would actually photograph the whole process (something I am bad at doing since I forget until I am half way through.)


How to Make Yogurt

1 Start with a pan, I like a pan that is easy to clean and somewhat wide on the bottom.


2 You'll need some milk, I am using whole milk this time but feel free to use what ever milk you want.  I normally use 2% but I thought I would try Homo milk to see the difference. Apparently reduced fat milks produce rather firm yogurt since the manufacturers add milk proteins to cover up for the lack of fat.  I haven't made yogurt with skim milk but it might be something I try in the future.


3 Pour the milk into the pot.  I know this is basic stuff, but sometimes it is necessary to spell everything out step by step


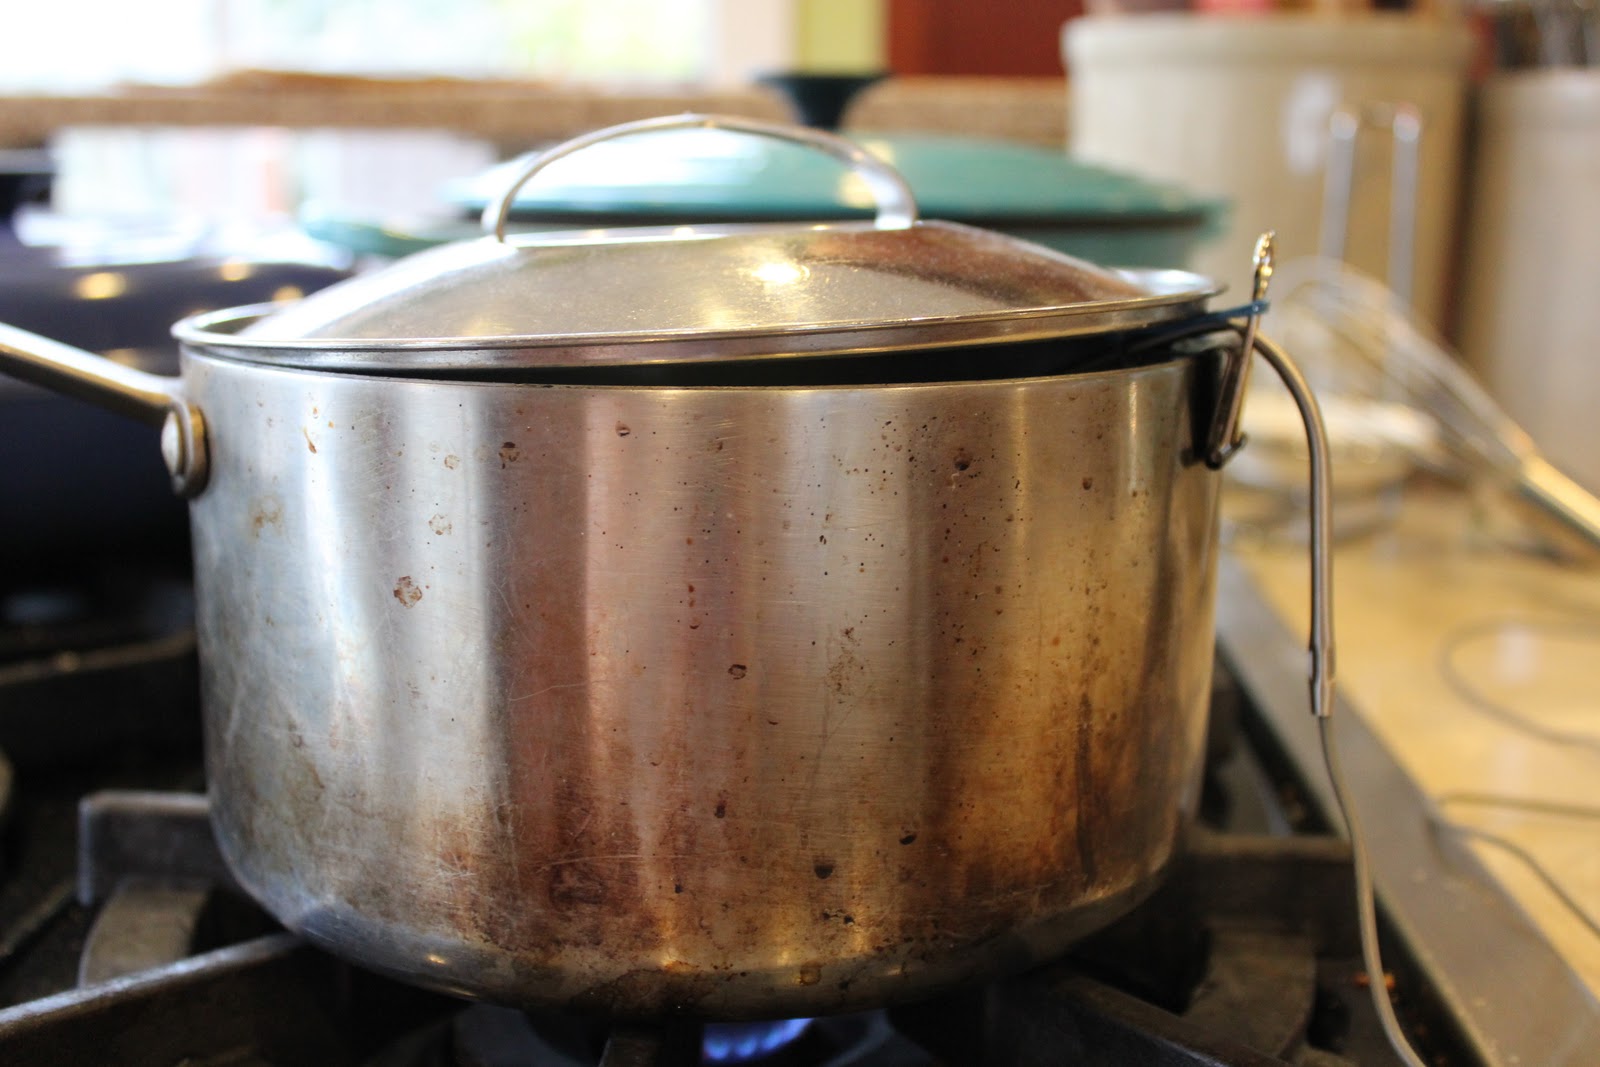
4 Time to take it's temperature.  I insert a probe thermometer in to the milk, but not touching the bottom of the pan.  I use a binder clip (I had to look up the name of it) with an elastic to hold the probe off the bottom of the pan.  I channeled some MacGyver here, I am pretty impressed by myself.


5 Turn the heat on low and let it heat up.  I would stir every so often and keep a lit on partially.  The common temperature that the milk is heated to is 180-190F but I didn't know that my temp alarm on the thermometer was broken and it was heated up to 210F and it still turned out well. The process of heating the milk concentrates the proteins and denatures the whey protein lactoglobulin.  You can try to keep the milk temp at 190F for a little bit to help this process along.  Commercial yogurt producers keep the milk at 185F for 30 minutes or 195F for 10 minutes.  They also add dry milk powder to increase the protein content of the milk.


6 While the milk is heating, take some yogurt from an earlier batch or from a commercially produced yogurt (make sure it says active cultures on the container) and let it come to room temperature.  You will need 2-4 tbsp per 1 liter of milk.  What you're doing is adding the culture into the milk which slowly spreads it way through the milk giving it the texture and taste of yogurt.


6a While the milk is heating turn on the oven light.  I find that this produces enough warms to keep the milk mixture warm so that the bacteria keeps growing.


7 Once the milk has made it to the desired temp, this took 35 minutes for me today, I usually take it to 190F  Today I will try to keep it at 180F - 190F for 15 minutes to see how it changes the final product (I do this by . To take it off the heat and let the milk cool to 110F. *If you do keep it at temp for a bit you will probably have to skim the skin off the top*. The cooling process took about 20 minutes.

8 Once cooled it is time to whisk in the room temp yogurt.  This will create bubbles, but it will also break up any skin that develops during the cooling process.

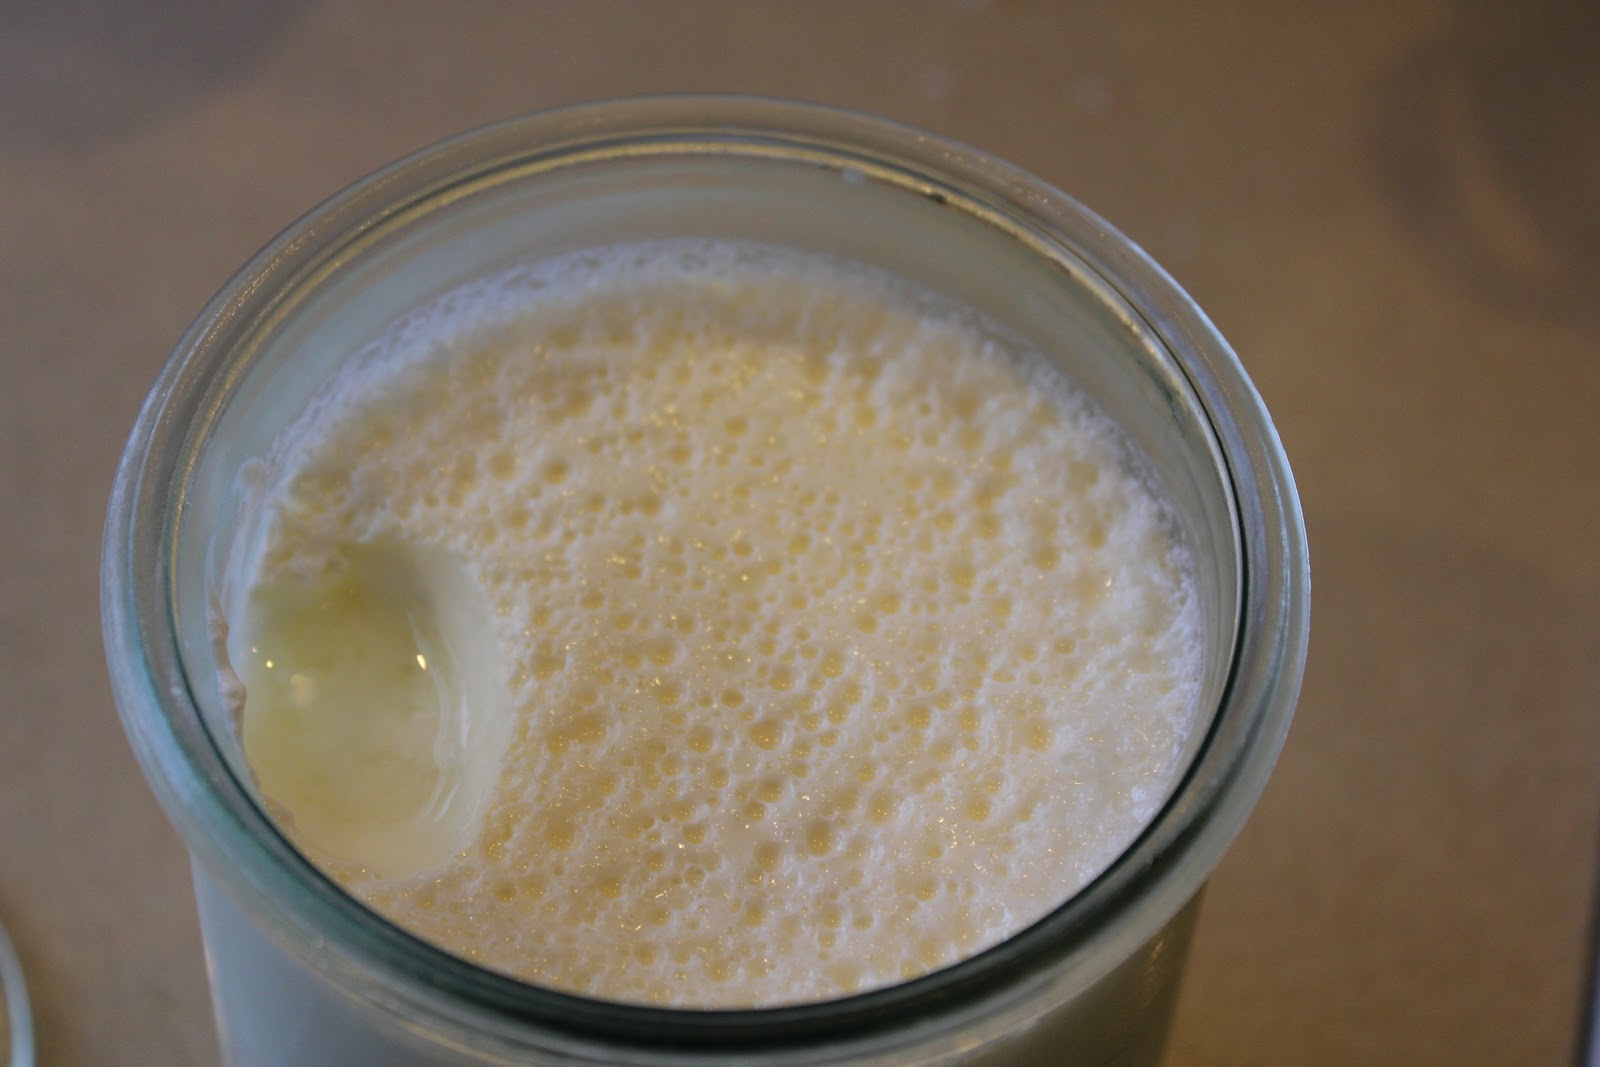
9 Pour the still warm milk mixture into a washed, still warm glass jar or container. I love my Weck Jars (I have seen them in publications for years but I finally found some in Vancouver.  I bought 2-1l jars especially for making yogurt.)  


10 I like to wrap the filled jars to keep it warm.


11 Place the jar into the oven with the door closed and the oven light on and let it sit there for 6-12 hours.  The long that you leave it the thicker and tangier it will become.  I keep experimenting with the time that works in my batches and I think the longer the better.  Remember that since this yogurt doesn't contain any preservatives it will continue to "mature" in the fridge, although not a great deal.

12 After the yogurt has been kept warm for the desired time, then it is time to chill and then enjoy.

Black Beans and Chocolate

I have selected another Pinterest posting of a recipe. That being said I may have been the one that posted it or I may have found it there,  I can't remember since I read that blog anyways - ohhh well.


This morning for Sunday breakfast I decided to make Vegan Black Bean Brownie Pancakes. This recipe is from My Little Celebration.  


This is my first time using a flax egg as well, interesting process.  This recipe isn't really clear on how to use the flax egg since it calls for:


1 flax egg [1 Tbsp. flaxseed meal + 2/5 Tbsp. water]   I think it means 2 - 5 tbsp of water rather then 2/5th of a tbsp of water, which my original interpretation of it.  But the interwebs saved me on this one.


I also put in too much salt which may have made it a little bitter, but I don't know.  The kids weren't too fond of them but then again my kids generally eat regular whole wheat pancakes with egg and milk in it and pancake syrup on the top.  So although they are generally good eaters, I am pleased to say that they tried them but unfortunately they weren't impressed by them.  I might make them again for guest who might be of the vegan persuasion but we will see.  I will give them one  more go in the future to see if they get any better.


Someone was helping in the kitchen.  They were both beside me in the kitchen earlier making it hard to work since they wanted to touch everything.  Sometimes that is easier then others.  The real problem is that they fight to get closer so that ends up in a screaming match with some pushing and if I'm lucky some pinching or biting :)

This is a food processor recipe which makes it loud for little ears which is why they left.

I transferred it into another bowl for easy scooping. 

After some trial and error, I found that the non-stick pan had to be only slightly greased and the pancakes had to go from glossy and wet to


dried and matte.  The first few followed the directions and were difficult to turn over and still rather raw even when crispy on both sides and these aren't thick pancakes at all.

Little Misses favorite part was the whipped cream that I added to it.  Not Vegan but then again neither are we :)

Here is the finished pile of pancakes.  They do look like brownies, I will have to try them again with less salt.  Interesting concept and I will probably try the actual Vegan Black Bean Brownies as well

Saturday, 21 January 2012

Pinterest has Sucked out My Brains.

Pinterest is strangely addicting and I don't know why.  I guess it is all those pictures of neat thing that other people have found and want to try.  Today I will be making one of those Pins I found there.


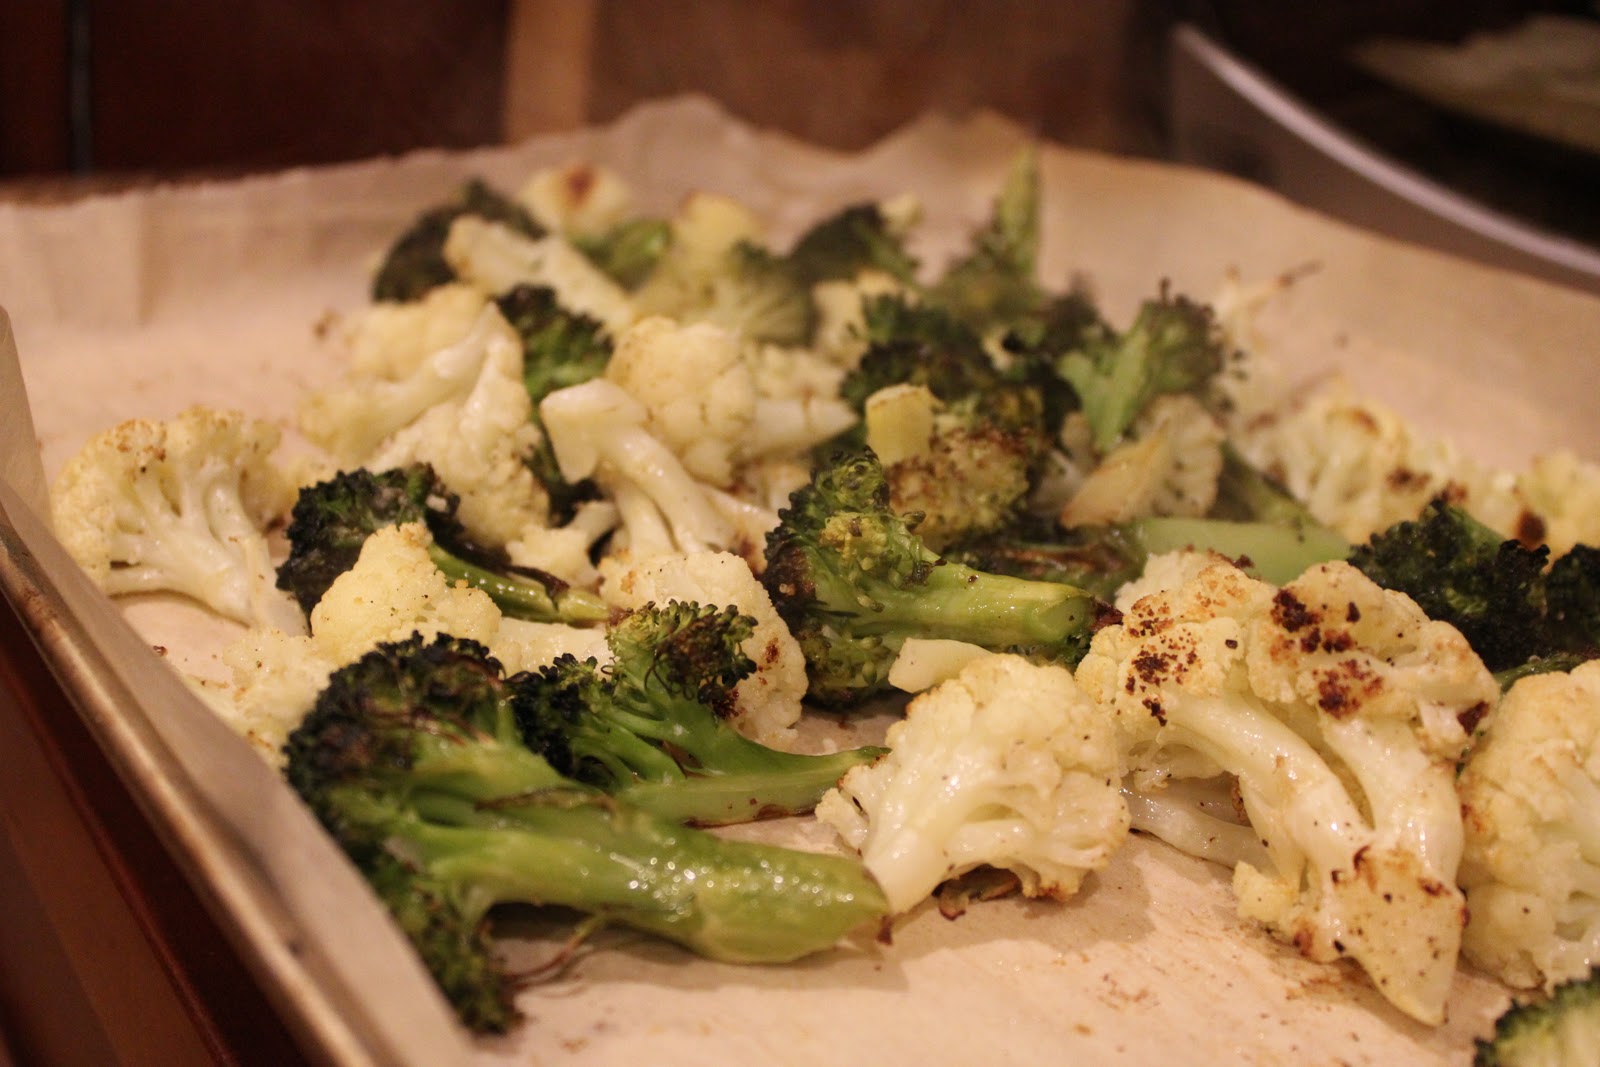
Tonight's Dinner will be salmon, quinoa salad with roasted butternut squash and Roasted Broccoli.    The recipe for Roasted Broccoli will be changed up a bit since I don't a) have enough broccoli and b)I have a huge bed of cauliflower that is taking up room in my fridge that could be used for other projects that I want to make. So it will be a blend of cauliflower and broccoli for tonight's side dish.
Here I am tossing the veggies with olive oil, salt, pepper and sliced garlic (you can't see the garlic in this picture since I hadn't added it yet, but it will be there)

 Here are the lovely roasted veggies, I just top with lemon zest, lemon juice and a bit more olive oil.


The recipe turned out really well, I do like the lemon and the roasted garlic.  Tasty, and I will definitely make it again.