How to Make Yogurt
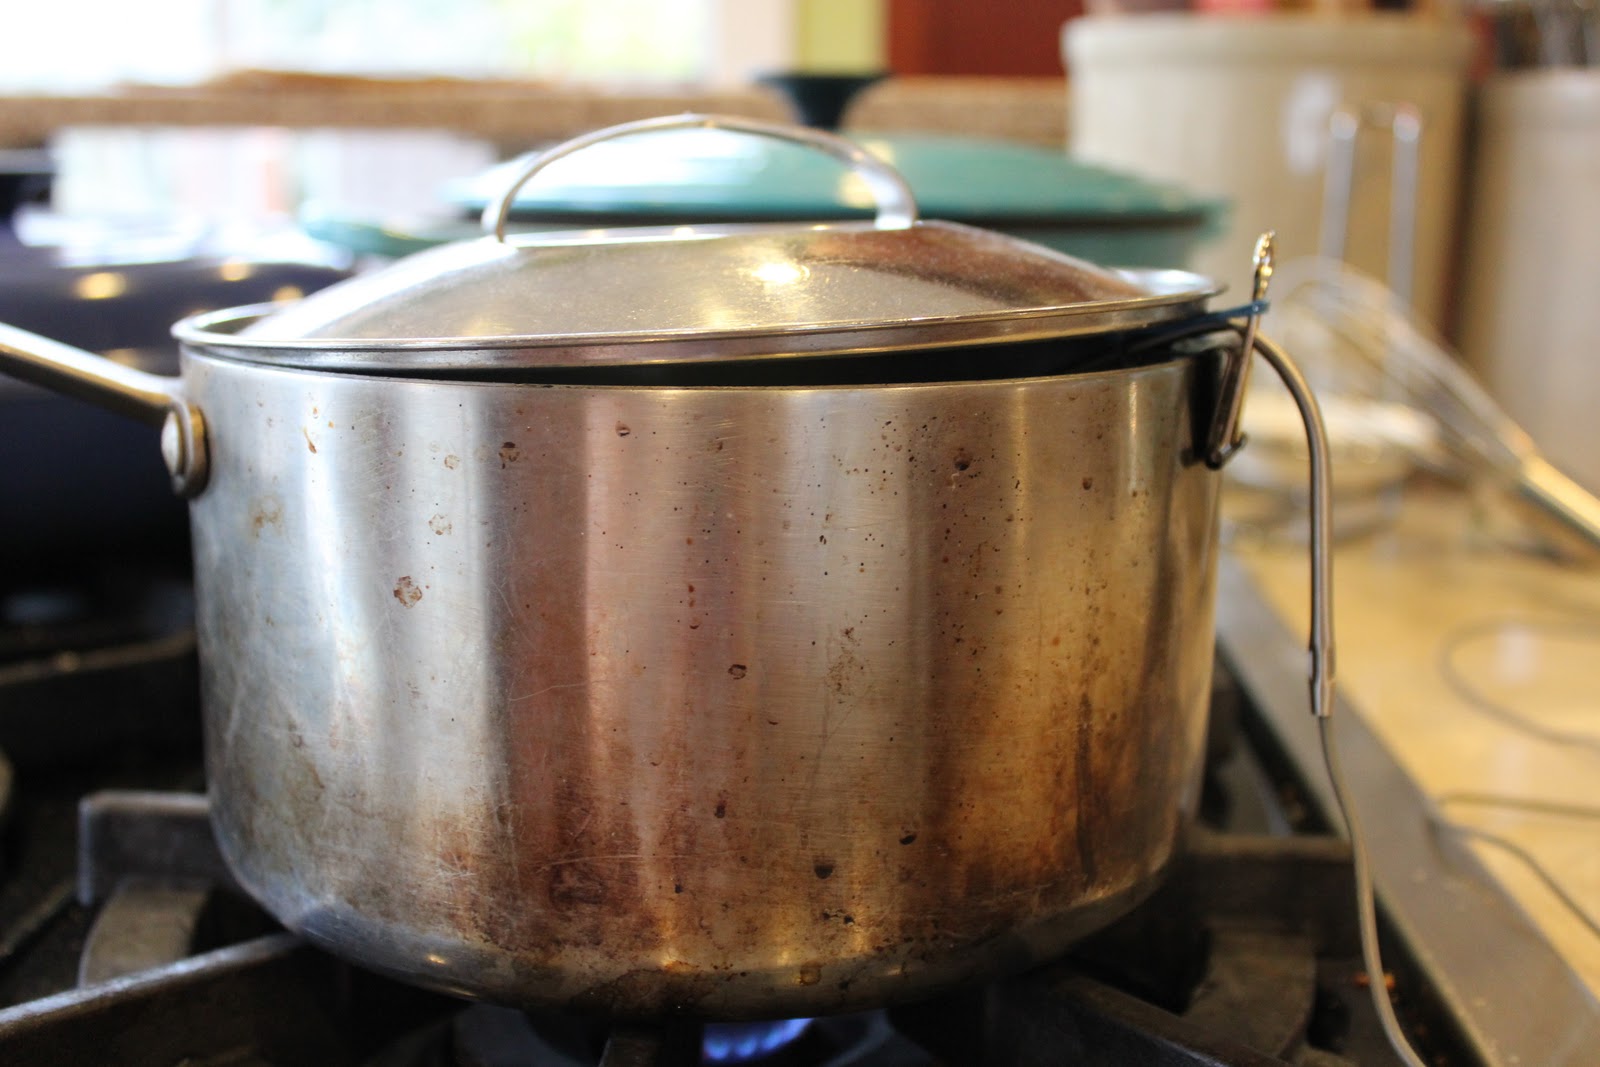
1 Start with a pan, I like a pan that is easy to clean and somewhat wide on the bottom.

2 You'll need some milk, I am using whole milk this time but feel free to use what ever milk you want. I normally use 2% but I thought I would try Homo milk to see the difference. Apparently reduced fat milks produce rather firm yogurt since the manufacturers add milk proteins to cover up for the lack of fat. I haven't made yogurt with skim milk but it might be something I try in the future.

3 Pour the milk into the pot. I know this is basic stuff, but sometimes it is necessary to spell everything out step by step


4 Time to take it's temperature. I insert a probe thermometer in to the milk, but not touching the bottom of the pan. I use a binder clip (I had to look up the name of it) with an elastic to hold the probe off the bottom of the pan. I channeled some MacGyver here, I am pretty impressed by myself.


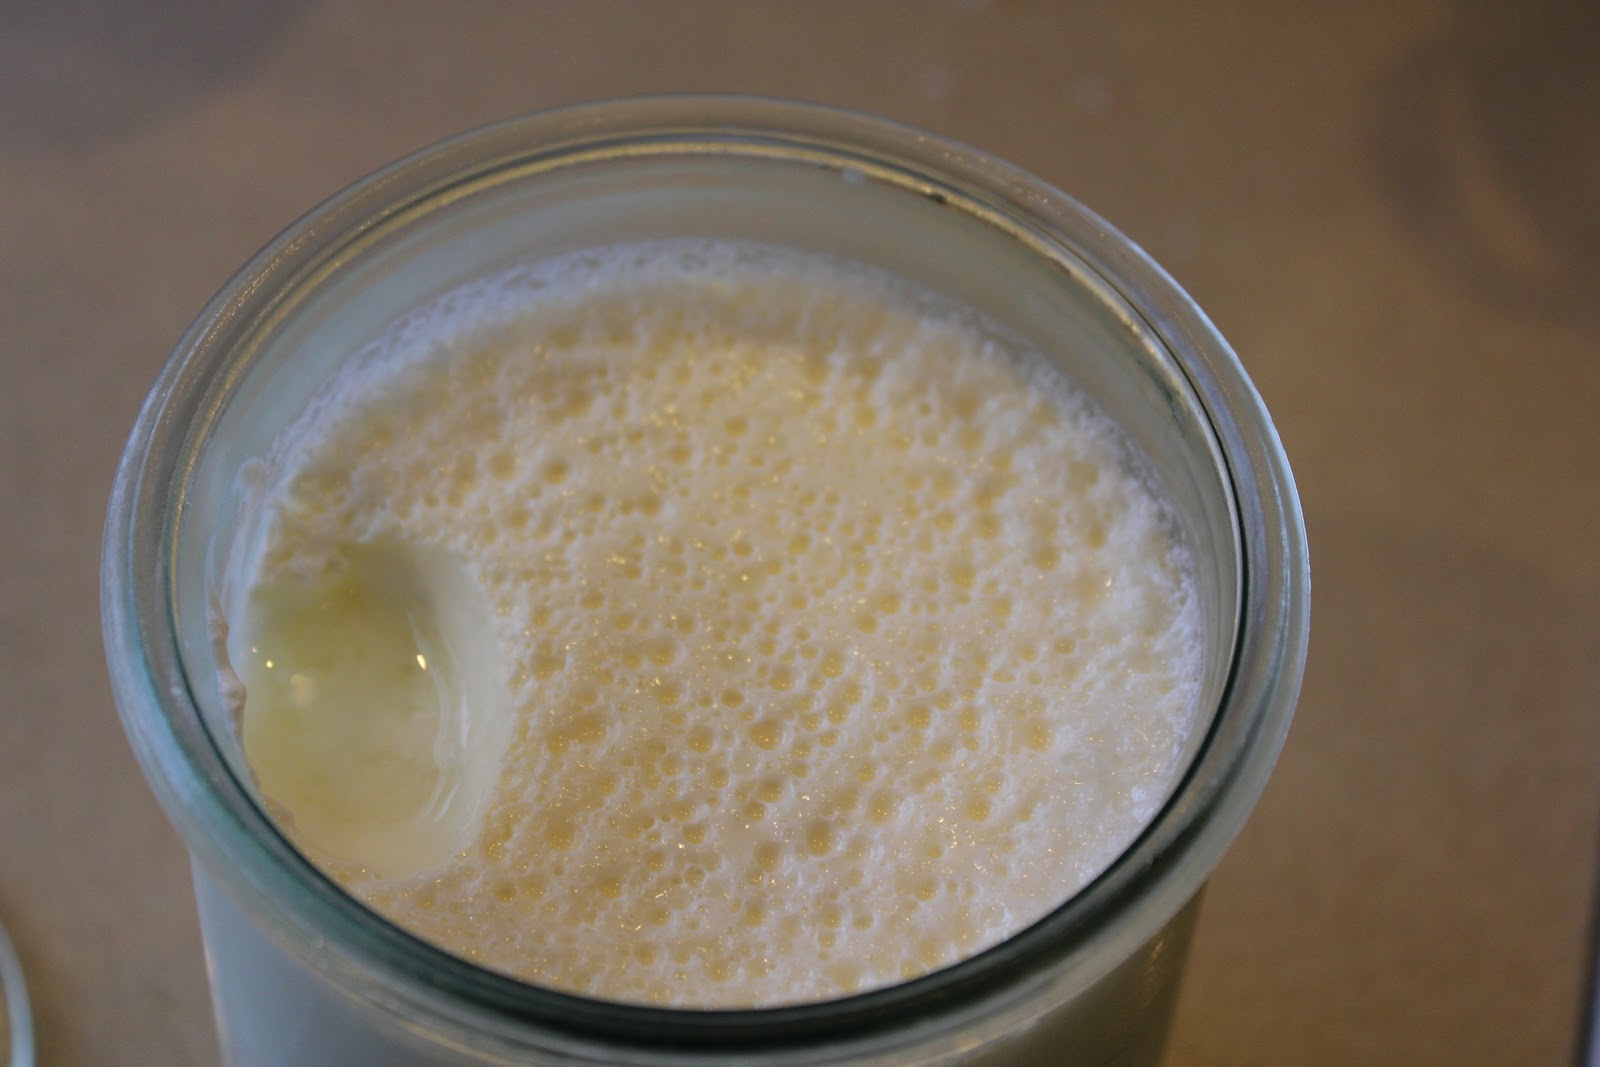
6 While the milk is heating, take some yogurt from an earlier batch or from a commercially produced yogurt (make sure it says active cultures on the container) and let it come to room temperature. You will need 2-4 tbsp per 1 liter of milk. What you're doing is adding the culture into the milk which slowly spreads it way through the milk giving it the texture and taste of yogurt.

6a While the milk is heating turn on the oven light. I find that this produces enough warms to keep the milk mixture warm so that the bacteria keeps growing.
7 Once the milk has made it to the desired temp, this took 35 minutes for me today, I usually take it to 190F Today I will try to keep it at 180F - 190F for 15 minutes to see how it changes the final product (I do this by . To take it off the heat and let the milk cool to 110F. *If you do keep it at temp for a bit you will probably have to skim the skin off the top*. The cooling process took about 20 minutes.


10 I like to wrap the filled jars to keep it warm.
11 Place the jar into the oven with the door closed and the oven light on and let it sit there for 6-12 hours. The long that you leave it the thicker and tangier it will become. I keep experimenting with the time that works in my batches and I think the longer the better. Remember that since this yogurt doesn't contain any preservatives it will continue to "mature" in the fridge, although not a great deal.

12 After the yogurt has been kept warm for the desired time, then it is time to chill and then enjoy.
No comments:
Post a Comment